SwiftPass Installation and Operating Instructions
SwiftPass is a lightweight activity tracking application that serves two purposes: record and store campus activity history in the Pinwheel DME, and provide privilege control at campus locations.
While Pinwheel DME can record history for any third-party system or activity reader—where the respective Plug-In supports this functionality—SwiftData developed SwiftPass as an inexpensive option to provide widespread data collection points.
The SwiftPass Module includes unlimited licenses of the application that can operate on any Windows PC, desktop or tablet. SwiftPass can be used in locations like:
- Tutoring
- Advising
- Career Services
- Library
- Computer Lab
- Gymnasium
- Athletics
- Science Lab
- Music Studio
- Residence Halls
The more locations where attendance and activity is recorded the broader the overall picture of a student’s engagement with the institution.
SwiftData will custom-configure SwiftPass at each campus location for the client. Access privileges can be based on any demographic data available within the Pinwheel DME.
For example, you can restrict access to a Rec Center to only full-time students and active staff/faculty. Since Pinwheel DME is constantly running, the data feeding SwiftPass is updated dynamically. If a student drops a class and is no longer a full-time student their access to the Rec Center would be revoked within minutes. The business logic can be customized in any way based on the available data.
SwiftPass currently only runs on Windows machines and requires a client-supplied USB reader (swipe/prox/contactless). The annual SwiftPass Module licensing fee includes all technical support and configuration of the application.
Installation
Installation is easy. First create a new folder on the Windows PC, laptop or tablet to store the program. Make sure the Windows user that will run the program has read/write access to the folder and the SwiftData registry.
Copy the ‘SwiftPass.exe’, ‘Pinwheel Basic Registry Setup Program.exe’, ‘DevComponents.DotNetBar2.dll’ and ‘SwiftPass Registry Setup.exe’ programs into the newly created folder. Run the ‘Pinwheel Basic Registry Setup Program.exe’ to set up the basic Pinwheel registry information. Fill in all of the empty fields–these include location of the Pinwheel database, SwiftData client name and email information.
NEVER RUN THE PINWHEEL BASIC REGISTRY SETUP PROGRAM ON THE PINWHEEL SERVER.
A fourth program called ‘Add Managed Location.exe’ is included, but do not install it on the SwiftPass location PCs. The administrator uses this program to control locations and will be explained later in these instructions.
After running the ‘Pinwheel Basic Registry Setup Program.exe’, run ‘SwiftPass Registry Setup.exe’. The form below will be displayed. Fill in the correct information.
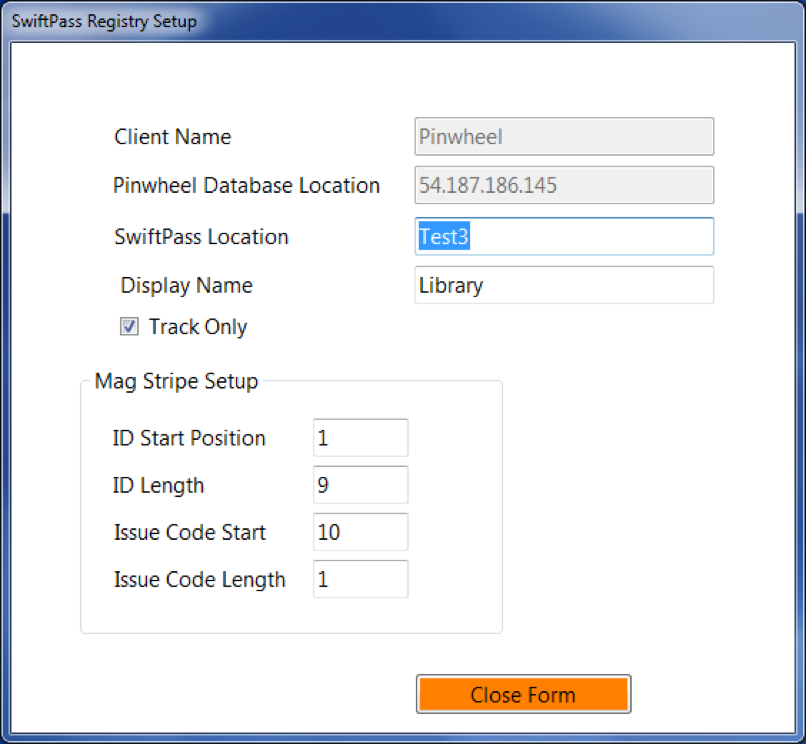
- SwiftPass Location – Use this box to set or reset the location name for this SwiftPass installation. The location name is used for reporting and control purposes. Multiple computers can have the same location name and their statistics and control will be counted or managed together
- Display Name – This is the name that will be displayed in the SwiftPass program and does not have to be the same as the location.
- Track Only – Select this box for track only mode. If unchecked, SwiftPass will check both the time that cardholder signed in and signed out. This is used to determine not only who went into a location but also how long they stayed. Check this box if you only want to track who signed in.
- Mag Stripe Setup - This area is used to set the start and length for both the ID number as well as the issue code within the mag stripe data.
Operation
SwiftPass records the person responsible for signing people in and out so an input box is displayed for the responsible person to swipe or tap card.
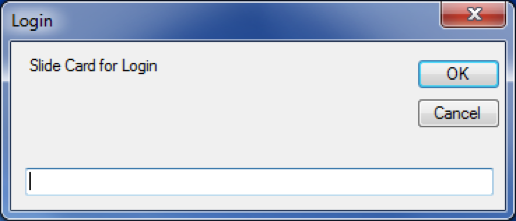
After logging in the SwiftPass program opens up.
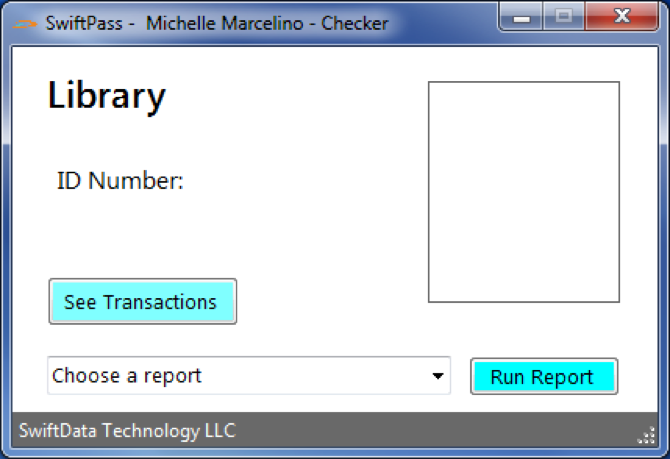
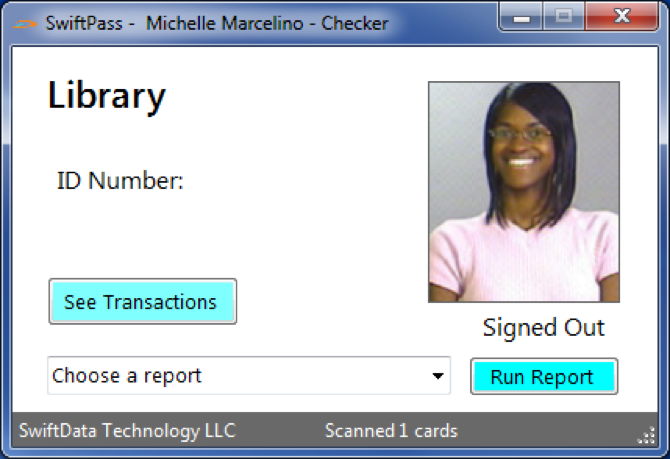
Everything is available on the screen. Each time a card is swiped or tapped the screen will display the cardholder picture and whether it is a sign in or sign out. The total number of scanned cards is displayed in the bottom status bar.
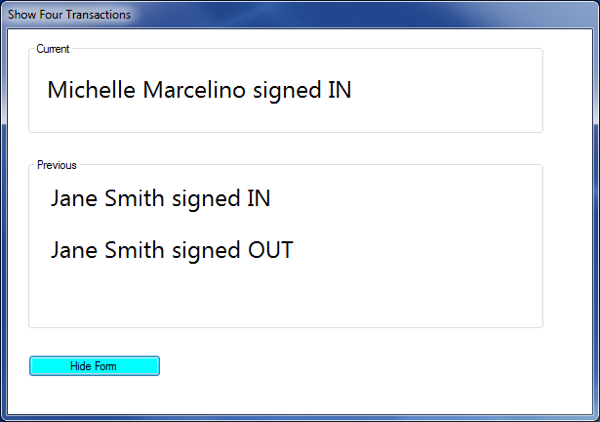
The See Transactions button when selected will display the present transaction and the previous three transactions in a separate screen. The screen can be hidden again by pressing the Hide Form button.
SwiftPass includes two built-in Excel reports—“Cardholders presently in area” and “Cardholder report by date”. Both reports are specific to the individual location. These reports are available in the drop down menu at the bottom of the main screen. Pressing the Run Report button will display the Excel report as long as Microsoft Excel is available on the computer.
Access Control
SwiftPass not only tracks who signed in and out, but can be configured to limit which cardholders can use a specific location based on demographic information available in Pinwheel DME. The ‘Add Managed Location.exe’ and the Pinwheel Client Programs are used to control access to a specific location.
Run ‘Add Managed Location.exe’ on the Pinwheel DME server. The below screen will appear.
To add access control to a SwiftPass location, enter the exact name of the location and press the Add Location button. Once a location is added to the list only cardholder’s with access to that location will be allowed to sign in.
To remove access control from a specific location type in the exact name of a location that is in the list displayed and select the Remove Location button.
Who can access the individual SwiftPass location is determined by the Pinwheel Client Program (CP) either because of demographic information supplied by one of the systems of record or Pinwheel Dashboard, event controlled by one card system, access controlled by access company or any other source or combination of sources determined by the client.
If you need assistance setting up the SwiftPass program please contact SwiftData support at help@swiftdata.works.